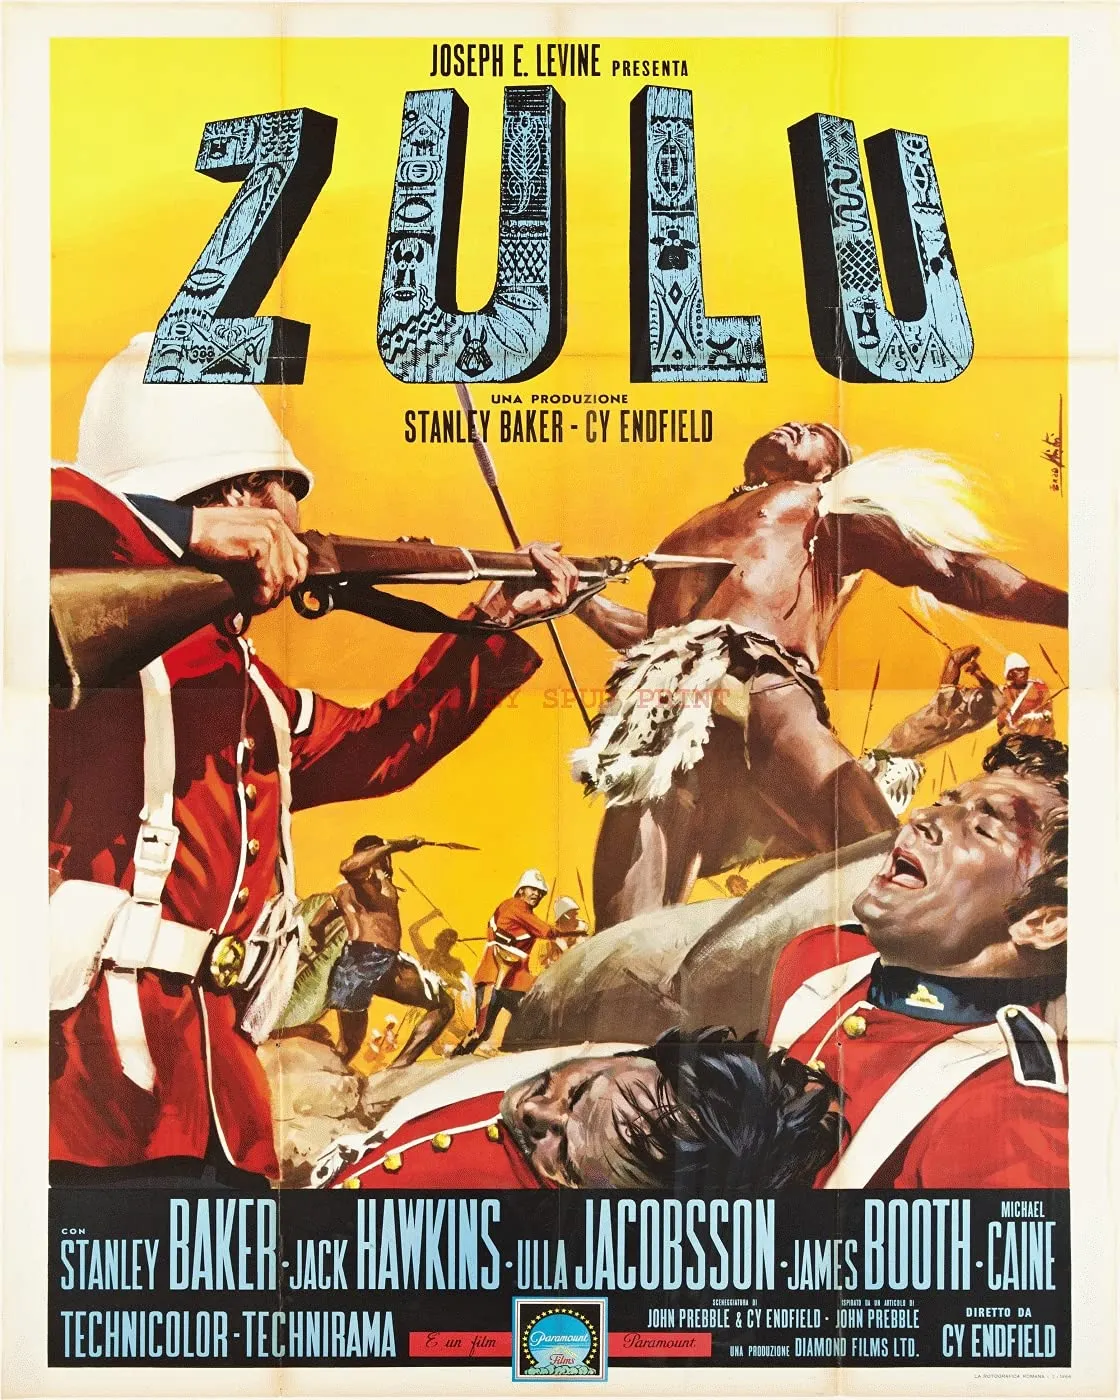
Historical accuracy of Zulu

Historical accuracy of Zulu

Characters
Lieutenant John Chard
Chard was the real senior officer who took command at Rorke's Drift. His competence and leadership during the battle are accurately reflected. The portrayal captures his historical role well, with minor dramatic license.
Lieutenant Gonville Bromhead
Bromhead was the real commander of B Company, 24th Regiment. The film accurately depicts his presence and eventual bravery. However, his portrayal as initially inexperienced or overly aristocratic is likely dramatic license; he was a seasoned officer.
Private Henry Hook
Hook was a real private awarded the VC for his valiant defense of the hospital. The film's depiction of him as a malingering drunkard is grossly inaccurate and contrary to historical records, which describe him as a model soldier.
Colour Sergeant Frank Bourne
Bourne was the real Colour Sergeant (though actually youngest CSgt in the army) known for his steadiness. The portrayal of him as an experienced, calming influence providing crucial leadership is accurate.
Reverend Otto Witt
Witt and his family were present at Rorke's Drift. His pacifism is historical. However, his portrayal as an alcoholic whose actions demoralized the troops is disputed and likely exaggerated for dramatic conflict.
Margareta Witt
Witt's daughter was present with him at the mission station.
More characters
James Langley Dalton
Dalton was a real figure who played a crucial role in recognizing the danger and persuading Chard/Bromhead to defend the post, as well as contributing significantly during the battle. His portrayal is accurate.
Surgeon James Henry Reynolds
Reynolds was the real surgeon present, tending the wounded under fire in the makeshift hospital.
Corporal William Allen
Allen was a real Corporal awarded the VC for his actions during the battle.
Private Frederick Hitch
Hitch was a real Private awarded the VC for his actions during the battle, particularly for distributing ammunition despite being wounded.
Prince Dabulamanzi kaMpande
Dabulamanzi was the real commander of the Zulu forces (elements of the Undi Corps) that attacked Rorke's Drift, acting against King Cetshwayo's orders not to cross into Natal.
King Cetshwayo kaMpande
The historical king of the Zulu nation, whose main army had just defeated the British at Isandlwana.
Zulu Warriors
The film accurately portrays the attackers as disciplined Zulu warriors, part of a large impi (regiment). Their bravery, tactics (mass charges), and determination are depicted respectfully.
Story
Context: Following British defeat at Isandlwana (Jan 22, 1879)
The battle occurred on the same day and shortly after the disastrous Battle of Isandlwana nearby, setting the perilous context for the small garrison.
Garrison learns of defeat and Zulu approach
Survivors from Isandlwana reached Rorke's Drift, warning the garrison of the disaster and the approach of a large Zulu force.
Decision to fortify and defend Rorke's Drift
After deliberation, the officers Chard and Bromhead, strongly influenced by Commissary Dalton, decided to defend the post rather than attempt a risky retreat.
Construction of defenses (mealie bags, biscuit boxes)
The defenders hastily constructed barricades using available materials like large bags of maize (mealie bags) and sturdy wooden biscuit boxes.
Zulu force (~4,000) attacks small garrison (~150) repeatedly
A large Zulu force, estimated at 3,000-4,000 warriors, launched sustained attacks over approximately 12 hours against the heavily outnumbered British garrison.
British using Martini-Henry rifles / Volley fire
The British defenders were primarily armed with single-shot Martini-Henry rifles and relied on disciplined volley fire to repel the massed Zulu charges.
Fierce battle for the hospital building / Set on fire
Intense hand-to-hand fighting occurred in and around the hospital building, which the Zulus eventually set alight, forcing desperate escapes by defenders (including the Hooks).
Numerous acts of bravery by defenders
The defense was marked by numerous acts of conspicuous bravery, resulting in the award of 11 Victoria Crosses, the most ever received for a single action by one regiment.
Zulu warriors' discipline and courage
Accounts from both sides attest to the remarkable bravery and disciplined attack formations displayed by the Zulu warriors throughout the long battle, accurately reflected in the film.
British soldiers singing "Men of Harlech" during a lull
This iconic scene is a dramatic invention; there is no historical record of the defenders singing this (or any) song during the battle to bolster morale or respond to Zulu chants.
Zulu withdrawal the following morning
After suffering heavy casualties and failing to overrun the defenses after repeated attacks lasting through the night, the Zulu force withdrew on the morning of January 23rd.
Final scene: Zulus salute defenders before leaving
The depiction of a mutual salute or expression of respect between the withdrawing Zulus and the surviving defenders is entirely fictional, created for cinematic effect.
Attack occurred against King Cetshwayo's orders
King Cetshwayo had instructed his commanders not to invade the colony of Natal across the Buffalo River, making the attack on the Rorke's Drift outpost an act of defiance by Prince Dabulamanzi.
Witt family leaves before the battle
Reverend Witt, deeming the post indefensible and opposing the fight, left with his family before the main Zulu attacks began.
Setting
Rorke's Drift Mission Station, Natal (1879)
Filmed on location in the Drakensberg mountains of KwaZulu-Natal, South Africa, near the actual battle site, providing authentic landscapes and a strong sense of place.
Recreation of mission station buildings/layout
The film's sets for the storehouse (used as a redoubt) and the hospital building, along with the connecting walls and barricades, were carefully reconstructed based on historical plans and sketches.
British uniforms (24th Regiment red coats)
The distinctive red coats, white helmets, and equipment of the British infantry (2nd Battalion, 24th Regiment of Foot - later South Wales Borderers) are accurately depicted for the period.
Zulu warrior attire (shields, regalia, lack of uniformity)
The appearance of the Zulu warriors, including diverse regimental shield colors/patterns, feathered headdresses, loincloths, and ornaments, reflects historical research into Zulu military regalia.
Weaponry (Martini-Henry rifle, bayonet, assegai, shields, firearms)
Both British weaponry (Martini-Henry rifle, long bayonet) and Zulu weaponry (iklwa stabbing spear, isihlangu shield, knobkierie clubs, some captured/older firearms) are accurately represented.
British tactics (Volley fire, defensive perimeter)
Effectively portrays the core British tactics: maintaining a defensive perimeter with barricades and relying on disciplined, rapid volley fire from their breech-loading rifles.
Zulu tactics (Mass charges, "Horns of the Buffalo" implied)
Shows the characteristic Zulu tactic of overwhelming the enemy with disciplined mass charges, attempting to close for hand-to-hand combat. The classic "Horns of the Buffalo" flanking maneuver is less evident due to the static defense scenario.
Atmosphere of desperate defense against overwhelming odds
The film excels at creating a tense, dramatic atmosphere, conveying the desperation and intensity of the small garrison facing continuous attacks by a vastly larger force.
South African environment
The cinematography makes excellent use of the dramatic South African landscape, contributing significantly to the film's visual authenticity and epic feel.
