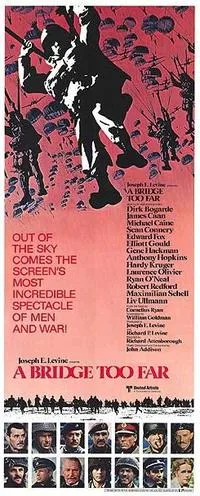
Historical accuracy of A Bridge Too Far

Historical accuracy of A Bridge Too Far

Characters
Lieutenant General Frederick Browning
Browning's role and reservations about Operation Market Garden are accurately portrayed. His famous quote, "I think we might be going a bridge too far," is historically attributed to him.
Lieutenant Colonel John Frost
Frost's leadership of the 2nd Battalion during the battle for Arnhem Bridge is accurately depicted. His tenacity and the stand of his men are well-documented.
Major General Roy Urquhart
Urquhart's command of the 1st Airborne Division and his struggles during the operation are accurately portrayed. The film depicts his frustration and the challenges he faced.
Lieutenant General Brian Horrocks
Horrocks's role in leading the ground advance of XXX Corps is accurately depicted. The film portrays his determination and the difficulties his forces encountered.
Lieutenant General Lewis H. Brereton
Brereton's role in planning and executing the airborne landings is accurately shown. The film depicts his involvement in the overall strategy of the operation.
Colonel Robert Stout
Stout's role in the American airborne landings is accurately represented. The film shows his leadership and the experiences of his men.
More characters
Major Julian Cook
Cook's daring river crossing at Nijmegen is accurately depicted. The film portrays his bravery and the challenges of the assault.
SS-Obersturmbannführer Walter Harzer
Harzer's role in commanding the German forces at Arnhem is accurately portrayed. The film depicts the strength of the German resistance and the challenges faced by the Allied forces.
Field Marshal Walter Model
Model's role in directing the German defense during the operation is accurately depicted. The film portrays his strategic decisions and the effectiveness of the German counterattacks.
Story
British 1st Airborne capture of bridges intact
Some bridges were captured intact early on, but the overall operation failed to secure all key bridges as planned.
Strong German resistance at Arnhem
The Germans put up fierce resistance at Arnhem, exceeding Allied intelligence estimates.
Chaos and confusion of battle
The film effectively portrays the chaotic nature of the Arnhem operation.
Allied planning and intelligence
The film touches on the flawed intelligence, but doesn't fully explore its extent.
Polish paratrooper arrival timing
The film delays the arrival of the Polish paratroopers for dramatic effect, deviating from the historical timeline.
High Allied casualties
The operation resulted in heavy Allied losses, as depicted in the film.
Failure to secure Arnhem bridge
The Allies ultimately failed to secure the bridge at Arnhem, a key objective of the operation.
Civilian impact
The impact on Dutch civilians during the fighting is largely absent from the film.
Role of XXX Corps
The film gives limited attention to XXX Corps' struggles to reach Arnhem.
